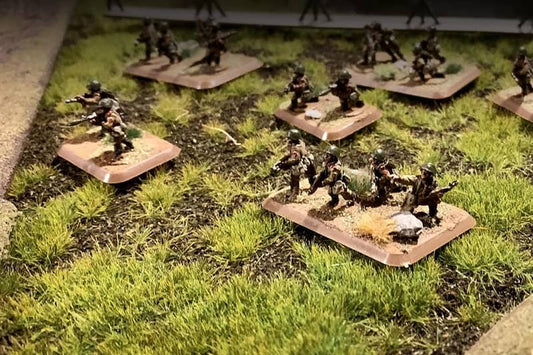
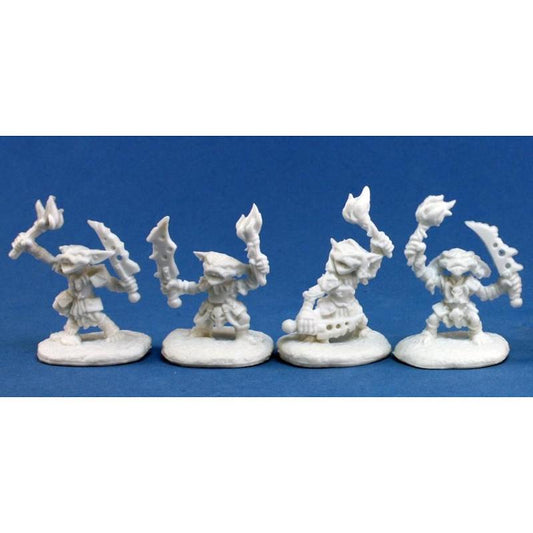
Starting with a bunch of small parts and ending with impressive army miniatures - that's the goal of every wargaming enthusiast.
And to achieve that goal, you must master the art of miniature assembly.
Assembly lays the groundwork for your miniature's look and durability. Do it well, and your figure will appear more detailed and hold up better over time.
This guide offers practical tips for smooth assembly. We'll tell you how to piece your miniatures together for the best results.
Supplies for Miniature Assembly
Assembling your wargame miniatures starts with gathering the right tools for the job. Here’s a list of essential supplies to gather:
- Glues: Buy thin cement plastic and super glue for resin and metal models.
- Cutting tools: Sharp clippers work well for clean cuts. For precision work, you’ll want an X-Acto knife with spare blades.
- Smoothing tools: Invest in sanding sticks (1000-1500 grit) and sponges (400-2000 grit) for fine finishing.
- Detailing tools: Get needle files, sandpaper for edges, tweezers, and pliers for small parts handling.
- Drilling equipment: A pin vise with a selection of drill bits is key for intricate details on miniatures.
- Filling materials: Stock up on plastic putty for filling gaps and modeling putty. Sculpting tools are great for custom work.
- Assembly aids: Blu-Tack is handy for temporary holds, and small brushes or toothpicks are great for applying glue accurately.
- Workspace gear: Protect your work area with a cutting mat. A magnifying glass or visor and proper lighting are essential and will help you see every detail.
- Organization tools: Keep everything organized and within reach using storage containers and organizers.
- Cleaning supplies: Add a toothbrush, dish soap, and water to your kit for cleaning models before assembly.
Steps Involved in Miniature Assembly
Once you’ve arranged the suppliers, take the following steps to assemble your miniature:
Step 1: Inspect and Plan Your Cuts
Start by closely examining the sprue. This step ensures you understand the layout of the parts, helping you avoid accidental cuts. Then, decide where to cut. Aim for close cuts that spare the parts, and leave extra sprue to support delicate pieces.
Step 2: Cut and Support the Parts
Choose a pair of high-quality cutters for precision. As you cut each piece, use your other hand or tweezers for support. It will prevent bending or breaking. Cut at a slight angle rather than flat, as it eases later cleanup.
Step 3: Clean and Smooth Edges
Once the figure is free of the sprue, trim any remaining remnants of the sprue with a hobby knife. Be gentle to avoid damaging the miniature. Follow up with sanding twigs or a fine file to smooth any rough edges, starting with a coarse grit and progress to a finer one.
Step 4: Remove Mold Lines and Flash
Look for mold lines and flash on your pieces. Use your hobby knife or a fine file to scrape these off carefully. For hard-to-reach areas or delicate parts, applying gentle pressure is key to avoid damage.
Step 5: Wash, Rinse, and Dry Parts
Clean the parts in warm, soapy water to remove residual oils or grease. An old toothbrush works well for this. After washing, rinse thoroughly and dry with a lint-free cloth. Ensure they're completely dry before proceeding.
Step 6: Dry Fit and Adjust Components
Before gluing, dry fit the parts to check their alignment. If they don't fit perfectly, use your hobby knife or sandpaper to make adjustments. This step can involve smoothing rough surfaces or reshaping edges for a better fit.
Step 7: Apply Glue and Assemble
Choose the right glue for your miniature's material. Apply a thin layer on one of the bonding surfaces and press the parts together. Be sure to align them accurately. If any glue seeps out, wipe it off promptly.
Step 8: Fill Gaps and Customize
Once the glue is set on the miniatures, fill any gaps with modeling putty and sand for a seamless finish. This step is also the time to add customizations like extra details or unique parts to personalize your miniature.
Step 9: Base Your Miniature
A well-crafted base enhances the miniature's appearance. Use materials like sand or static grass for a realistic base, adding elements like rocks or miniature debris for more interest.
Step 10: Prime and Paint
After basing, apply a coat of primer. This step is crucial for better paint adhesion and a more even finish. Once primed, paint your miniature. Start with a base coat and build up layers for depth and detail, using various techniques for different effects.
Step 11: Seal and Protect
Finish by sealing your painted miniature with a clear protective sealant. This step guards against wear and tear, ensuring your work remains intact.
Step 12: Store and Transport Safely
Finally, store and transport your miniatures carefully. Use cases with foam inserts or individual compartments to prevent damage, especially when moving them for gaming sessions or displays.
Best Practices to Consider
- Get familiar with the assembly instructions. Take time to read through them before starting so you understand the sequence and orientation of the parts.
- Dry fit the pieces before gluing. This lets you check the fit and see where you might need to adjust or trim for a perfect assembly.
- Work in a well-lit area. Good lighting helps you see the details better, making it easier to clean and assemble the tiny parts accurately.
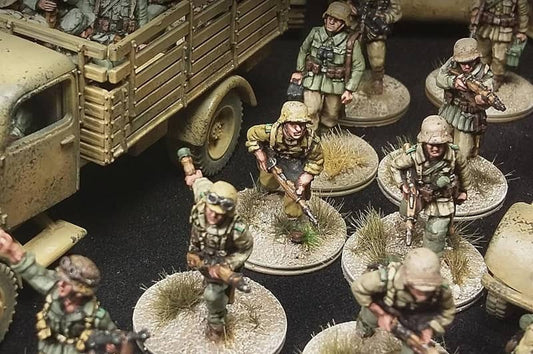
- Choose an infantry unit from an army you like. Infantry units often have parts you can switch out, giving you creative freedom.
- Use a basic palette for your paint mixes. A small plastic cup palette is budget-friendly, while a wet palette helps keep your paints workable.
Assembling miniatures is a rewarding journey into detailed craftsmanship. With the right tools and careful planning, you'll transform sprues into stunning figures, ready for any tabletop battle or display shelf.