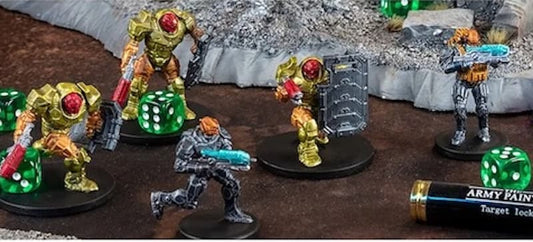
Minis. You can paint them with brushes, pens, or even professional-level tools. However, nothing matches the smooth perfection you can achieve with airbrushing.
Imagine perfect gradients, seamless blends, and intricate details in a fraction of the time. Airbrushing can help you achieve that and more.
What is Airbrushing?
Airbrushing is a way to paint miniatures using a small, hand-held tool called an airbrush and a compressor. Artists and miniature painters use airbrushing to get smooth and even coverage. The airbrush sprays paint in a controlled way, letting you create fine details and soft blends.
Parts of an Airbrush
An airbrush has a few main parts:
- Trigger: The trigger controls the air and paint flow. Press down for air and pull back for paint.
- Needle: The needle regulates the amount of paint sprayed. A .3mm needle is ideal for fine details.
- Paint Cup: The paint cup holds the paint and uses gravity to feed it into the airbrush. This design requires less air pressure.
- Compressor: The compressor powers the airbrush and lets you set the air pressure. It ensures smooth and even paint flow.
- Nozzle: The nozzle is where the paint and air mix and spray out. Its size affects the spray pattern and is crucial for detailed work.
Essential Airbrushing Gear
To start airbrushing, you need an airbrush and a compressor. The airbrush sprays paint when you press and pull the trigger, while the compressor supplies the air.
Airbrush Features to Consider
- Nozzle diameter: A 0.2mm nozzle will produce a fine paint spray, allowing you to add fine details and highlights. A 0.5mm nozzle will allow you to cover more area in less time for tasks like priming. Choose a nozzle size that fits the task.
- Trigger type: Airbrushes come with either a single or double action trigger. When you pull the trigger on a single action, both air and paint delivery begin simultaneously. A double action trigger requires two actions - one to start the air and a second to start the flow of paint.
- Budget: High-end brushes with all the features can be pricey. If you are just getting started, consider which features are most important to you as you learn. You can always upgrade down the road as your skills improve.
Compressor
You'll need a compressor to power your airbrush. Look for one with a moisture trap and pressure regulator. This keeps your airflow steady and your paint job smooth. Don't worry, it doesn't have to be fancy, just reliable.
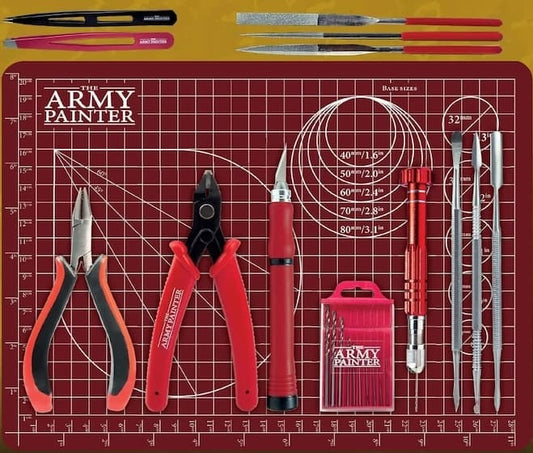
Accessories
You'll also need a few accessories to keep the airbrush paint’s consistency just right while preventing clogs and ensuring smooth application. Here are some essentials:
- Cleaning accessories: Includes pipe-cleaner brushes and a nozzle cleaner. They help reach tight spots and ensure thorough cleaning.
- Cleaning pot: Holds your airbrush and acts as a trash can for paint and cleaner.
- Airbrush primers: Vallejo Black, Grey, or White primers provide a solid base and ensure better adhesion for your paints.
- Flow improver: Helps paint flow better and reduces drying issues. It’s ideal for techniques like directional glazing to achieve smooth transitions.
- Tissue paper and Q-Tips: Useful for wiping away excess paint and cleaning small parts. They help maintain cleanliness and precision.
- Breathing mask: Protects you from inhaling paint particles during long sessions.
Tips for Using the Airbrush for Miniature Painting
Understand How it Works
Your airbrush has two main parts: the needle and the nozzle. The needle moves back, creating a gap for the paint to flow through, while the nozzle directs the paint into a fine spray. Both work together to ensure smooth and even coverage.
Practice Handling the Airbrush
Before you start painting, practice using your airbrush. Connect it to the compressor and set the pressure to 1.5-2 bars. Push the lever to let out air, then add water to the cup and spray. This will help you get a feel for the air and paint flow.
Control the Flow
You control the spray by adjusting the pressure, lever position, and distance. Practice until you can get the results you want. It might take a few tries, but you’ll get there. Consistent practice will help you understand the nuances of your airbrush and improve your technique over time.
Use the Right Paints
Choose paints that match your base color. Adding white to lighten or black to darken colors can change the hue, so use matched colors to keep the blend smooth. Army Painter airbrush paints are perfect for this because they come in matched triads: base, mid, and highlights.
Practice Highlighting and Shading
To create highlights and shadows, start with a dark primer. Consider using zenithal priming, where you spray a lighter color from above. This method makes shadows look natural, plus adds depth and dimension to your miniatures.
Other Things to consider:
- Distance and control: The distance between your airbrush and the model affects the spray pattern. Closer distances give you finer control for details, while further distances are better for broader coverage.
- Pressure settings: Adjust the air pressure based on the paint consistency and the desired effect. Lower pressure is ideal for detailed work, while higher pressure works well for base coats and larger areas.
- Layering colors: Apply multiple thin layers rather than a single thick one. This approach prevents paint from running and ensures even coverage, giving your army miniatures a smooth, professional look.
Thinning Your Paints
Thinning paints is key to good airbrushing. You can buy pre-thinned paints or mix your own. An airbrush cup is a handy container for thinning paints. Start with a few drops of thinner or water, then add paint. Stir with an old brush and create a backflow to mix thoroughly. The paint should have the consistency of skim milk. It takes practice, but you'll get the hang of it.
Cleaning Your Airbrush
Keeping your airbrush clean is crucial. After each session, empty the paint, add water, and create a backflow to rinse it. Use Q-tips and an interdental brush to clean the cup and needle. Proper cleaning prevents clogs and keeps your airbrush working smoothly. Remove it and clean each part gently to avoid damage.
Mastering Airbrushing
Airbrushing is an art that miniature hobbyists fine-tune over dozens of painting sessions. You’ve learned a lot about painting minis with an airbrush, but you don’t need to apply everything at once. Start with the basics, like smooth base coating and simple shading. Get comfortable handling the airbrush and controlling the paint flow. As you gain confidence, try adding highlights and shadows for more depth. With practice, you’ll soon master more advanced techniques for bringing your miniatures to life.